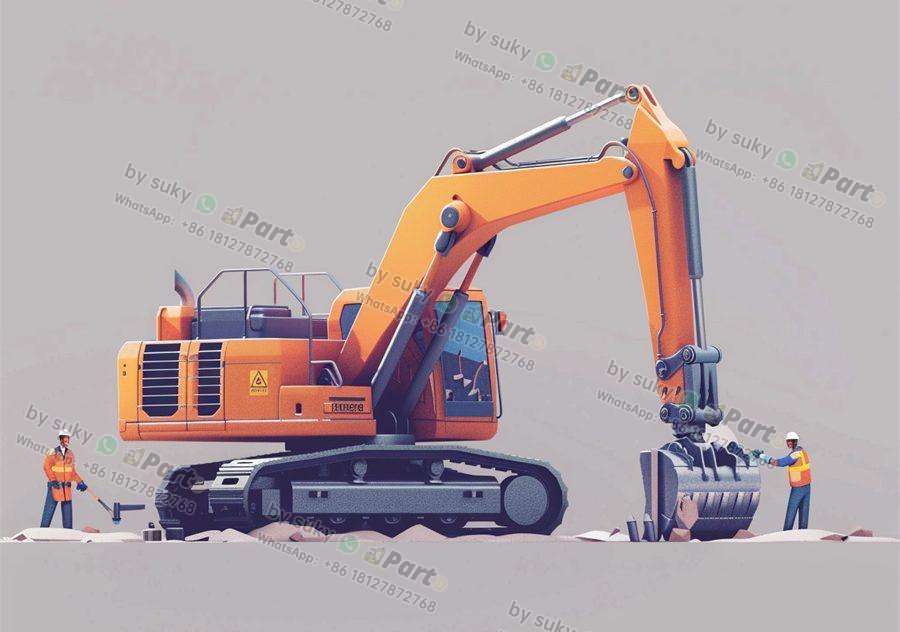
how to know if your oil pressure gauge is bad

how to know if your oil pressure gauge is bad

Oil pressure gauge, bad, importers, distributors, construction vehicles, signs, malfunctioning, troubleshooting

Signs That Your Oil Pressure Gauge Is Bad

As an importer or distributor of construction vehicle parts, it is crucial to ensure that all components are in proper working condition. One of the key indicators of a vehicle’s health is the oil pressure gauge. A malfunctioning oil pressure gauge can lead to serious issues if not addressed promptly. In this article, we will discuss how to know if your oil pressure gauge is bad and what steps to take to troubleshoot the issue.

Common Signs of a Bad Oil Pressure Gauge

There are several common signs that indicate a potential issue with the oil pressure gauge. One of the most obvious signs is fluctuating readings on the gauge while the vehicle is in operation. If you notice that the gauge is constantly moving up and down, it could be a sign of a faulty sensor or gauge. Another indicator is consistently low or high readings on the gauge, which may point to an issue with the oil pressure system. Additionally, if the gauge remains at zero even when the engine is running, it is a clear sign that something is wrong with the oil pressure gauge.

Troubleshooting the Issue

If you suspect that your oil pressure gauge is bad, there are a few steps you can take to troubleshoot the issue. Start by checking the connections to the gauge to ensure that they are secure and free of any corrosion. Next, inspect the wiring that connects the gauge to the sensor, looking for any frayed or damaged wires. If everything appears to be in working order, you may need to replace either the sensor or the gauge itself. Consult with a professional mechanic to determine the best course of action for your specific vehicle.

In conclusion, as an importer or distributor of construction vehicle parts, it is essential to be aware of the signs of a bad oil pressure gauge. By monitoring the gauge for fluctuating readings, consistently low or high readings, or a gauge that remains at zero, you can quickly identify potential issues with the oil pressure system. By troubleshooting the problem and taking appropriate action, you can ensure that your construction vehicles remain in optimal working condition.

how to install oil pressure gauge on tractor

how to install oil pressure gauge on tractor

Installing an oil pressure gauge on a tractor is a simple yet essential task that can help monitor the health of the engine and prevent potential damages. For importers and distributors of engineering vehicle parts, having the knowledge to install an oil pressure gauge correctly can be beneficial for their customers. In this guide, we will walk you through the steps to install an oil pressure gauge on a tractor.

1. Gather the necessary tools and materials
Before starting the installation process, make sure you have all the required tools and materials. You will need an oil pressure gauge kit, which usually includes the gauge, fittings, and tubing. Additionally, prepare a wrench set, pliers, Teflon tape, and a drill with the appropriate drill bits.

2. Locate the oil pressure sending unit
The oil pressure sending unit is typically located near the oil filter on the engine block. Use the owner’s manual or consult with a mechanic to locate the sending unit on your specific tractor model. Once you have found the sending unit, disconnect the wire harness connected to it.

3. Install the oil pressure gauge
Next, you will need to install the oil pressure gauge in the tractor’s dashboard or instrument panel. Use the drill to create a hole for the gauge to fit securely. Insert the gauge into the hole and tighten it with the provided mounting hardware. Make sure the gauge is positioned in a visible and easily accessible location for the operator.

4. Connect the tubing
Now it’s time to connect the tubing from the oil pressure sending unit to the oil pressure gauge. Cut the tubing to the appropriate length using the pliers and attach it to the fittings on both ends. Use Teflon tape to secure the connections and prevent any leaks. Once the tubing is securely in place, reconnect the wire harness to the sending unit.

5. Test the oil pressure gauge
After completing the installation, start the tractor’s engine and monitor the oil pressure gauge. The gauge should give you an accurate reading of the oil pressure in the engine. If the gauge does not display any readings or shows abnormal readings, double-check the connections and consult with a professional mechanic if needed.

In conclusion, installing an oil pressure gauge on a tractor is a relatively simple process that can provide valuable insights into the health of the engine. By following these steps and ensuring the gauge is properly installed, importers and distributors of engineering vehicle parts can help their customers maintain and monitor their tractors effectively. Remember to always refer to the tractor’s manual and consult with experts if you encounter any difficulties during the installation process.

how to install oil pressure gauge chevy 350

how to install oil pressure gauge chevy 350

Installing an oil pressure gauge on a Chevy 350 is a relatively simple process that can be done by yourself or by a professional mechanic. If you are an importer or distributor of engineering vehicle parts, knowing how to install an oil pressure gauge on a Chevy 350 can be useful for providing services to your customers who might need to do this task.

To install an oil pressure gauge on a Chevy 350, follow these steps:

1. Gather the necessary materials: You will need an oil pressure gauge kit, which typically includes the gauge, tubing, and fittings. Make sure to choose a high-quality kit that is compatible with a Chevy 350 engine.

2. Locate the oil pressure sending unit: The oil pressure sending unit is usually located near the oil filter on a Chevy 350 engine. This is where you will tap into the engine’s oil system to connect the oil pressure gauge.

3. Remove the old oil pressure sending unit: Use a wrench to carefully remove the old oil pressure sending unit from the engine. Be cautious not to damage any surrounding components during this process.

4. Install the new oil pressure gauge: Once the old sending unit is removed, you can now install the new oil pressure gauge. Use the fittings and tubing provided in the kit to securely connect the gauge to the engine’s oil system.

5. Test the oil pressure gauge: After installing the new oil pressure gauge, start the engine and check for any leaks or malfunctions. Make sure the gauge is reading the oil pressure accurately before completing the installation process.

In conclusion, knowing how to install an oil pressure gauge on a Chevy 350 can be beneficial for engineering vehicle parts importers and distributors. By following the steps outlined above, you can successfully install an oil pressure gauge on a Chevy 350 engine. This knowledge can help you provide valuable services to your customers who may need assistance with installing oil pressure gauges on their vehicles.

how to install electric oil pressure gauge

how to install electric oil pressure gauge

Installing an electric oil pressure gauge is a crucial task for anyone working with engineering vehicles and their parts. Whether you are an importer or distributor of these parts, having a functioning oil pressure gauge is essential for monitoring the health of the engine. In this article, we will guide you through the steps to properly install an electric oil pressure gauge.

1. Gather Your Tools and Materials
Before you begin the installation process, make sure you have all the necessary tools and materials on hand. You will need an electric oil pressure gauge kit, a mounting bracket, wires, connectors, electrical tape, a drill, and a wrench. It’s important to read the instructions that come with your gauge kit to ensure you have everything you need.

2. Locate the Oil Pressure Sender
The first step in the installation process is to locate the oil pressure sender on your engine. This sender is usually located near the oil filter or on the engine block itself. Once you have found the sender, disconnect the negative terminal from the battery to prevent any electrical accidents.

3. Install the Oil Pressure Gauge
Next, you will need to mount the oil pressure gauge in a convenient location within the vehicle. Choose a spot that is easily visible to the driver but doesn’t obstruct their view. Use the mounting bracket and screws provided in your kit to secure the gauge in place.

4. Connect the Wires
After the gauge is securely mounted, it’s time to connect the wires. Strip the ends of the wires and connect them to the appropriate terminals on the oil pressure sender and gauge. Use connectors and electrical tape to secure the connections and prevent any potential short circuits.

5. Test the Gauge
Once all the connections are securely in place, reattach the negative terminal to the battery and start the engine. Let it run for a few minutes while keeping an eye on the oil pressure gauge to ensure it is functioning properly. Check for any leaks or loose connections and make adjustments as needed.

In conclusion, installing an electric oil pressure gauge is a relatively simple task that can greatly benefit anyone working with engineering vehicles. By following the steps outlined in this article and ensuring proper installation, you can effectively monitor the health of your engine and prevent any potential issues. Remember to always consult the instructions provided with your gauge kit and seek professional help if needed.

how to install autometer oil pressure gauge

how to install autometer oil pressure gauge

Installing an AutoMeter Oil Pressure Gauge

If you are in the business of importing and distributing engineering vehicle parts, then you are aware of the importance of maintaining optimal oil pressure in these vehicles. One essential tool for monitoring oil pressure is the AutoMeter Oil Pressure Gauge. In this article, we will guide you through the steps of installing this gauge in a vehicle.

Step 1: Gather the Necessary Tools
Before you begin the installation process, make sure you have all the necessary tools on hand. You will need a wrench set, screwdrivers, a drill, and the AutoMeter Oil Pressure Gauge kit, which should include the gauge, tubing, fittings, and wiring.

Step 2: Locate a Suitable Mounting Location
Choose a suitable location to mount the oil pressure gauge in the vehicle. The ideal location is within the driver’s line of sight and easily accessible. You may need to drill a hole to mount the gauge securely.

Step 3: Install the Oil Pressure Sending Unit
Locate the oil pressure sending unit on the engine block. Remove the existing oil pressure sender and replace it with the AutoMeter sending unit. Use a wrench to secure the fitting and ensure there are no leaks.

Step 4: Connect the Tubing
Connect the tubing from the sending unit to the back of the gauge. Make sure the tubing is secure and not kinked to ensure accurate pressure readings.

Step 5: Power Up the Gauge
Connect the power and ground wires from the gauge to the vehicle’s electrical system. Test the gauge to ensure it is functioning properly before securing it in place.

In conclusion, installing an AutoMeter Oil Pressure Gauge is a straightforward process that can provide valuable insights into the health of a vehicle’s engine. By following the steps outlined in this article, you can ensure a successful installation and reliable oil pressure monitoring for your engineering vehicle parts business.

how to install an aftermarket oil pressure gauge

how to install an aftermarket oil pressure gauge

Installing an Aftermarket Oil Pressure Gauge

If you are an importer or distributor of engineering vehicle parts, you may often encounter the need to install aftermarket oil pressure gauges for your customers. A reliable oil pressure gauge is crucial for monitoring the health of an engine and ensuring optimal performance. Here is a step-by-step guide on how to properly install an aftermarket oil pressure gauge.

1. Choose the Right Gauge
Before installation, it is important to choose the right oil pressure gauge for the specific vehicle make and model. Make sure to select a gauge that is compatible with the engine’s oil pressure range to ensure accurate readings. Additionally, consider the mounting options and design of the gauge to ensure it fits seamlessly into the vehicle’s interior.

2. Locate the Oil Pressure Sender
Next, locate the oil pressure sender, which is typically found near the oil filter housing or on the engine block. This sender is responsible for transmitting the oil pressure readings to the gauge. Use the vehicle’s service manual to locate the sender and ensure you have the necessary tools to access it.

3. Install the Gauge
Disconnect the vehicle’s battery to prevent any electrical mishaps during installation. Remove the existing oil pressure sender and replace it with the aftermarket sender that comes with the gauge kit. Use thread sealant on the sender threads to prevent oil leaks. Connect the sender to the gauge using the provided wiring harness, ensuring proper routing and secure connections.

4. Mount the Gauge
Choose a suitable location to mount the oil pressure gauge on the dashboard or instrument panel. Use the mounting hardware provided with the gauge kit to secure it in place. Make sure the gauge is easily visible to the driver and does not obstruct any essential controls or gauges.

5. Test the Gauge
After installation, it is crucial to test the oil pressure gauge to ensure accurate readings. Start the engine and monitor the gauge for any unusual fluctuations or erratic readings. If the gauge does not respond correctly, double-check the connections and sender installation. Consult the manufacturer’s instructions for troubleshooting tips.

In conclusion, installing an aftermarket oil pressure gauge is a straightforward process that can greatly benefit your customers in monitoring their vehicle’s engine health. By following these simple steps and choosing the right gauge for the job, you can provide a valuable service to your clients and ensure their vehicles perform at their best.

how to install aem oil pressure gauge

how to install aem oil pressure gauge

AEM Oil Pressure Gauge Installation Guide for Importers and Distributors of Heavy Machinery Parts

Importers and distributors of heavy machinery parts often deal with the installation of various components, including oil pressure gauges. In this article, we will provide a step-by-step guide on how to install an AEM oil pressure gauge, a popular choice among vehicle manufacturers and enthusiasts alike.

Step 1: Gather the necessary tools and materials
Before beginning the installation process, make sure you have all the required tools and materials on hand. This may include a socket set, wrenches, electrical tape, and the AEM oil pressure gauge kit. Ensuring you have everything you need will make the installation process smoother and more efficient.

Step 2: Locate the oil pressure sensor
The next step is to locate the oil pressure sensor on your vehicle. This sensor is typically located near the oil filter or on the side of the engine block. Once you have located the sensor, disconnect the electrical connector and remove the sensor using the appropriate tools.

Step 3: Install the AEM oil pressure gauge
With the oil pressure sensor removed, it is time to install the AEM oil pressure gauge. Connect the provided wiring harness to the sensor and secure the gauge in a convenient location within the vehicle. Make sure to route the wiring harness away from any moving parts or hot surfaces to prevent damage.

Step 4: Connect the power source
After installing the AEM oil pressure gauge, connect the power source to the gauge. This may involve connecting the red wire to a switched 12V power source and the black wire to a ground connection. Follow the instructions provided in the AEM oil pressure gauge kit for specific guidance on wiring.

Step 5: Test the gauge
Once the gauge is installed and wired properly, it is important to test its functionality. Start the vehicle and ensure that the gauge displays accurate oil pressure readings. If the gauge does not display any readings or shows incorrect values, double-check the installation and wiring connections.

In conclusion, installing an AEM oil pressure gauge is a straightforward process that can provide valuable insights into the health and performance of your vehicle’s engine. By following the steps outlined in this guide, importers and distributors of heavy machinery parts can successfully install this essential component and enhance the overall functionality of their vehicles.

how to install a mechanical oil pressure gauge

how to install a mechanical oil pressure gauge

Title: How to Install a Mechanical Oil Pressure Gauge

Are you an importer or distributor of engineering vehicle parts looking to install a mechanical oil pressure gauge? In this guide, we’ll walk you through the steps of installing a mechanical oil pressure gauge in your vehicle.

1. Choosing the Right Location
Before you begin the installation process, it’s crucial to choose the correct location for the oil pressure gauge. Ideally, you’ll want to place it in a spot where it’s easily visible while driving and where the tubing can be routed without kinking or getting damaged.

2. Installing the Gauge
Once you’ve selected the location, it’s time to install the gauge. Start by drilling a hole in the dashboard or instrument panel to accommodate the gauge. Next, mount the gauge securely in place using the provided hardware. Make sure to tighten the screws properly to avoid any vibrations or movement while driving.

3. Connecting the Tubing
After the gauge is securely mounted, it’s time to connect the tubing. Begin by attaching one end of the tubing to the gauge and the other end to the oil pressure port on the engine. Be sure to use the appropriate fittings and connectors to ensure a tight and secure connection.

4. Testing the Gauge
Once the gauge and tubing are installed, it’s essential to test the oil pressure gauge to ensure it’s working correctly. Start the engine and observe the gauge to see if it registers the correct oil pressure readings. If everything looks good, you’re all set!

In conclusion, installing a mechanical oil pressure gauge is a straightforward process that can provide valuable insights into the health of your vehicle’s engine. By following the steps outlined in this guide, you can successfully install a mechanical oil pressure gauge in your engineering vehicle. Remember to choose the right location, securely mount the gauge, connect the tubing properly, and test the gauge to ensure accurate readings. With a properly installed oil pressure gauge, you can monitor your engine’s oil pressure and prevent potential issues before they escalate.