1999 bobcat 337 mini excavator parts

1999 bobcat 337 mini excavator parts

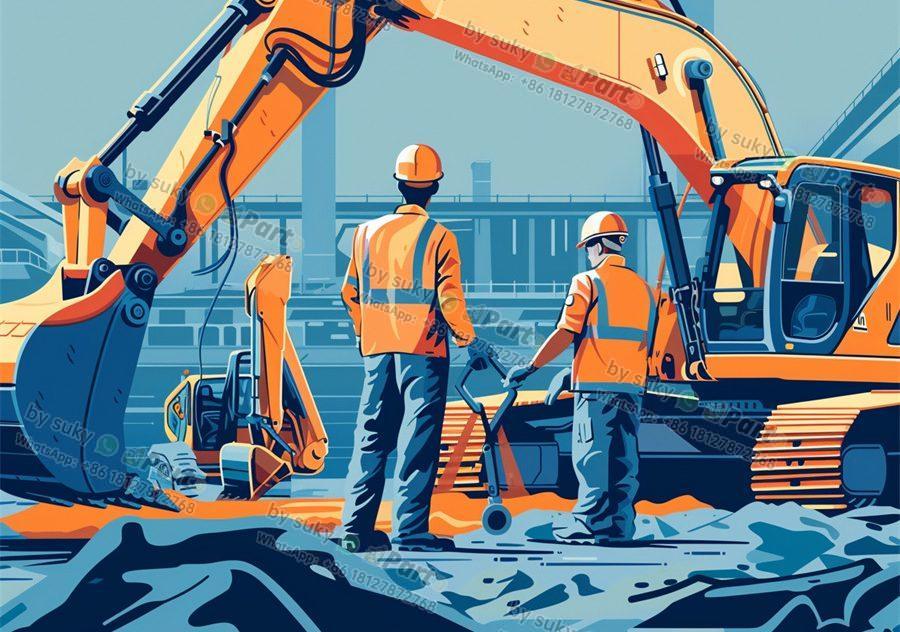
If you are in the market for parts for a 1999 Bobcat 337 mini excavator, you have come to the right place. Importers and distributors of construction vehicle parts know how important it is to have access to high-quality components to keep their machines running smoothly. In this article, we will explore the various parts available for the Bobcat 337 mini excavator and how you can ensure you are getting the best quality for your money.

Replacement Parts for the Bobcat 337 Mini Excavator

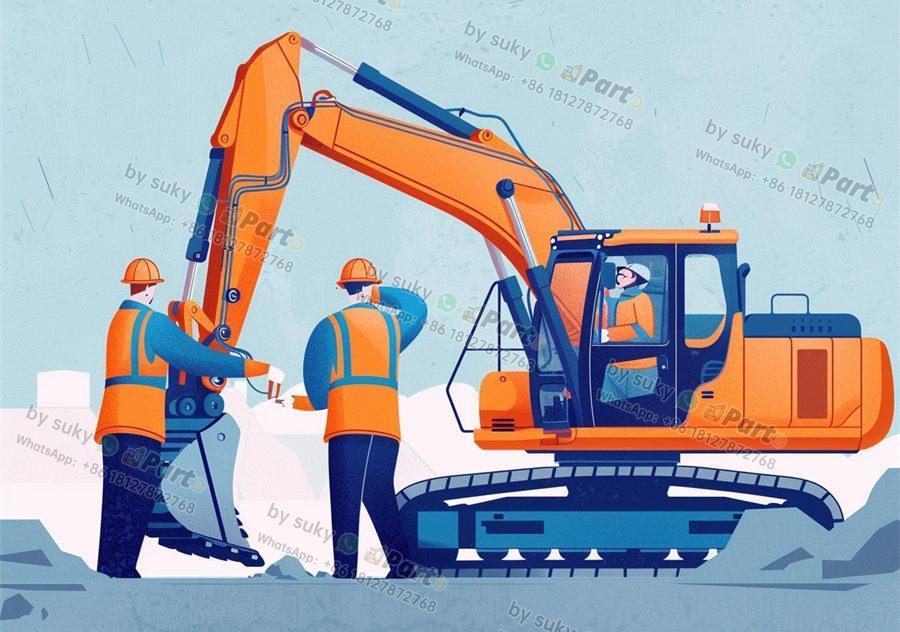
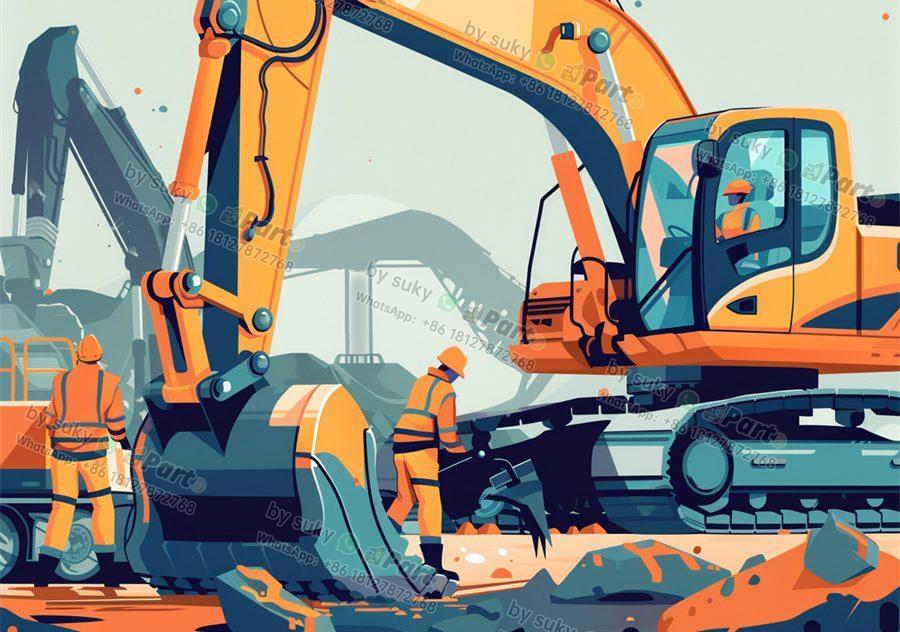
When it comes to maintaining your Bobcat 337 mini excavator, having access to a wide range of replacement parts is essential. From filters and hoses to tracks and hydraulic components, there are numerous parts that may need to be replaced over time. As an importer or distributor, it is crucial to have a reliable source for these parts to ensure your customers’ satisfaction.

Quality Assurance

When sourcing parts for the Bobcat 337 mini excavator, quality should be your top priority. Inferior parts can lead to costly repairs and downtime for your customers, which can damage your reputation as a reliable supplier. Make sure to work with reputable manufacturers and suppliers who have a track record of providing high-quality parts for construction vehicles.

Cost-Effective Solutions

While quality is important, cost is also a factor to consider when sourcing parts for the Bobcat 337 mini excavator. As an importer or distributor, you want to offer your customers competitive prices without sacrificing quality. Look for suppliers who offer cost-effective solutions, such as bulk discounts or package deals, to help you stay competitive in the market.

Conclusion

In conclusion, sourcing parts for a 1999 Bobcat 337 mini excavator is an essential task for importers and distributors in the construction vehicle industry. By focusing on quality assurance, cost-effective solutions, and a wide range of replacement parts, you can ensure that your customers are satisfied with the parts you provide. Remember to work with reputable suppliers and manufacturers to guarantee the reliability and durability of the parts you offer. With a commitment to quality and customer satisfaction, you can establish yourself as a trusted supplier in the market.

1998 john deere 80 excavator parts

1998 john deere 80 excavator parts

Looking for high-quality parts for your 1998 John Deere 80 excavator? Look no further! We have a wide range of genuine John Deere parts available for importers and distributors, ensuring that your equipment runs smoothly and efficiently.

Genuine John Deere Parts for Your 1998 John Deere 80 Excavator

When it comes to maintaining your 1998 John Deere 80 excavator, using genuine John Deere parts is essential. These parts are specifically designed to fit your equipment perfectly, ensuring optimal performance and longevity. Whether you need filters, belts, hoses, or any other part for your excavator, we have you covered.

Importing Genuine John Deere Parts for Your Business

As an importer or distributor of construction equipment parts, it’s crucial to source high-quality parts for your customers. By importing genuine John Deere parts for the 1998 John Deere 80 excavator, you can provide your clients with the peace of mind that comes with using reliable and durable components. Our parts are made to the highest standards, guaranteeing a perfect fit and exceptional performance.

Benefits of Using Genuine John Deere Parts

Using genuine John Deere parts for your 1998 John Deere 80 excavator offers a range of benefits. These parts are manufactured to meet the exact specifications of your equipment, ensuring seamless integration and optimal performance. Additionally, genuine John Deere parts are tested for durability and reliability, giving you the confidence that your excavator will operate smoothly for years to come.

In conclusion, sourcing genuine John Deere parts for your 1998 John Deere 80 excavator is essential for maintaining the performance and longevity of your equipment. As an importer or distributor, providing your customers with high-quality parts will result in satisfied clients and repeat business. Trust in the reliability and durability of genuine John Deere parts for all your excavator needs.

how to install autometer oil pressure gauge

how to install autometer oil pressure gauge

Installing an AutoMeter Oil Pressure Gauge

If you are in the business of importing and distributing engineering vehicle parts, then you are aware of the importance of maintaining optimal oil pressure in these vehicles. One essential tool for monitoring oil pressure is the AutoMeter Oil Pressure Gauge. In this article, we will guide you through the steps of installing this gauge in a vehicle.

Step 1: Gather the Necessary Tools
Before you begin the installation process, make sure you have all the necessary tools on hand. You will need a wrench set, screwdrivers, a drill, and the AutoMeter Oil Pressure Gauge kit, which should include the gauge, tubing, fittings, and wiring.

Step 2: Locate a Suitable Mounting Location
Choose a suitable location to mount the oil pressure gauge in the vehicle. The ideal location is within the driver’s line of sight and easily accessible. You may need to drill a hole to mount the gauge securely.

Step 3: Install the Oil Pressure Sending Unit
Locate the oil pressure sending unit on the engine block. Remove the existing oil pressure sender and replace it with the AutoMeter sending unit. Use a wrench to secure the fitting and ensure there are no leaks.

Step 4: Connect the Tubing
Connect the tubing from the sending unit to the back of the gauge. Make sure the tubing is secure and not kinked to ensure accurate pressure readings.

Step 5: Power Up the Gauge
Connect the power and ground wires from the gauge to the vehicle’s electrical system. Test the gauge to ensure it is functioning properly before securing it in place.

In conclusion, installing an AutoMeter Oil Pressure Gauge is a straightforward process that can provide valuable insights into the health of a vehicle’s engine. By following the steps outlined in this article, you can ensure a successful installation and reliable oil pressure monitoring for your engineering vehicle parts business.

how to install an aftermarket oil pressure gauge

how to install an aftermarket oil pressure gauge

Installing an Aftermarket Oil Pressure Gauge

If you are an importer or distributor of engineering vehicle parts, you may often encounter the need to install aftermarket oil pressure gauges for your customers. A reliable oil pressure gauge is crucial for monitoring the health of an engine and ensuring optimal performance. Here is a step-by-step guide on how to properly install an aftermarket oil pressure gauge.

1. Choose the Right Gauge
Before installation, it is important to choose the right oil pressure gauge for the specific vehicle make and model. Make sure to select a gauge that is compatible with the engine’s oil pressure range to ensure accurate readings. Additionally, consider the mounting options and design of the gauge to ensure it fits seamlessly into the vehicle’s interior.

2. Locate the Oil Pressure Sender
Next, locate the oil pressure sender, which is typically found near the oil filter housing or on the engine block. This sender is responsible for transmitting the oil pressure readings to the gauge. Use the vehicle’s service manual to locate the sender and ensure you have the necessary tools to access it.

3. Install the Gauge
Disconnect the vehicle’s battery to prevent any electrical mishaps during installation. Remove the existing oil pressure sender and replace it with the aftermarket sender that comes with the gauge kit. Use thread sealant on the sender threads to prevent oil leaks. Connect the sender to the gauge using the provided wiring harness, ensuring proper routing and secure connections.

4. Mount the Gauge
Choose a suitable location to mount the oil pressure gauge on the dashboard or instrument panel. Use the mounting hardware provided with the gauge kit to secure it in place. Make sure the gauge is easily visible to the driver and does not obstruct any essential controls or gauges.

5. Test the Gauge
After installation, it is crucial to test the oil pressure gauge to ensure accurate readings. Start the engine and monitor the gauge for any unusual fluctuations or erratic readings. If the gauge does not respond correctly, double-check the connections and sender installation. Consult the manufacturer’s instructions for troubleshooting tips.

In conclusion, installing an aftermarket oil pressure gauge is a straightforward process that can greatly benefit your customers in monitoring their vehicle’s engine health. By following these simple steps and choosing the right gauge for the job, you can provide a valuable service to your clients and ensure their vehicles perform at their best.

how to install aem oil pressure gauge

how to install aem oil pressure gauge

AEM Oil Pressure Gauge Installation Guide for Importers and Distributors of Heavy Machinery Parts

Importers and distributors of heavy machinery parts often deal with the installation of various components, including oil pressure gauges. In this article, we will provide a step-by-step guide on how to install an AEM oil pressure gauge, a popular choice among vehicle manufacturers and enthusiasts alike.

Step 1: Gather the necessary tools and materials
Before beginning the installation process, make sure you have all the required tools and materials on hand. This may include a socket set, wrenches, electrical tape, and the AEM oil pressure gauge kit. Ensuring you have everything you need will make the installation process smoother and more efficient.

Step 2: Locate the oil pressure sensor
The next step is to locate the oil pressure sensor on your vehicle. This sensor is typically located near the oil filter or on the side of the engine block. Once you have located the sensor, disconnect the electrical connector and remove the sensor using the appropriate tools.

Step 3: Install the AEM oil pressure gauge
With the oil pressure sensor removed, it is time to install the AEM oil pressure gauge. Connect the provided wiring harness to the sensor and secure the gauge in a convenient location within the vehicle. Make sure to route the wiring harness away from any moving parts or hot surfaces to prevent damage.

Step 4: Connect the power source
After installing the AEM oil pressure gauge, connect the power source to the gauge. This may involve connecting the red wire to a switched 12V power source and the black wire to a ground connection. Follow the instructions provided in the AEM oil pressure gauge kit for specific guidance on wiring.

Step 5: Test the gauge
Once the gauge is installed and wired properly, it is important to test its functionality. Start the vehicle and ensure that the gauge displays accurate oil pressure readings. If the gauge does not display any readings or shows incorrect values, double-check the installation and wiring connections.

In conclusion, installing an AEM oil pressure gauge is a straightforward process that can provide valuable insights into the health and performance of your vehicle’s engine. By following the steps outlined in this guide, importers and distributors of heavy machinery parts can successfully install this essential component and enhance the overall functionality of their vehicles.

how to install a mechanical oil pressure gauge

how to install a mechanical oil pressure gauge

Title: How to Install a Mechanical Oil Pressure Gauge

Are you an importer or distributor of engineering vehicle parts looking to install a mechanical oil pressure gauge? In this guide, we’ll walk you through the steps of installing a mechanical oil pressure gauge in your vehicle.

1. Choosing the Right Location
Before you begin the installation process, it’s crucial to choose the correct location for the oil pressure gauge. Ideally, you’ll want to place it in a spot where it’s easily visible while driving and where the tubing can be routed without kinking or getting damaged.

2. Installing the Gauge
Once you’ve selected the location, it’s time to install the gauge. Start by drilling a hole in the dashboard or instrument panel to accommodate the gauge. Next, mount the gauge securely in place using the provided hardware. Make sure to tighten the screws properly to avoid any vibrations or movement while driving.

3. Connecting the Tubing
After the gauge is securely mounted, it’s time to connect the tubing. Begin by attaching one end of the tubing to the gauge and the other end to the oil pressure port on the engine. Be sure to use the appropriate fittings and connectors to ensure a tight and secure connection.

4. Testing the Gauge
Once the gauge and tubing are installed, it’s essential to test the oil pressure gauge to ensure it’s working correctly. Start the engine and observe the gauge to see if it registers the correct oil pressure readings. If everything looks good, you’re all set!

In conclusion, installing a mechanical oil pressure gauge is a straightforward process that can provide valuable insights into the health of your vehicle’s engine. By following the steps outlined in this guide, you can successfully install a mechanical oil pressure gauge in your engineering vehicle. Remember to choose the right location, securely mount the gauge, connect the tubing properly, and test the gauge to ensure accurate readings. With a properly installed oil pressure gauge, you can monitor your engine’s oil pressure and prevent potential issues before they escalate.

how to hook up oil pressure gauge chevy 350

how to hook up oil pressure gauge chevy 350

If you are looking to hook up an oil pressure gauge on a Chevy 350 engine, there are a few steps you need to follow in order to do so successfully. This guide will walk you through the process of installing the oil pressure gauge and ensuring that it is functioning properly on your Chevy 350 engine.

1. Locate the Oil Pressure Sending Unit
The first step in installing an oil pressure gauge on a Chevy 350 engine is to locate the oil pressure sending unit. This unit is typically located near the oil filter on the engine block. Once you have located the sending unit, you will need to disconnect the wire that is currently attached to it.

2. Install the Oil Pressure Gauge
Next, you will need to install the oil pressure gauge. To do this, you will need to locate a suitable location on the dashboard or instrument panel to mount the gauge. Once you have found a location, you can then run a wire from the sending unit to the gauge. Make sure to secure the wire in place to prevent any interference with other components in the vehicle.

3. Connect the Sending Unit to the Gauge
After you have installed the gauge, you will need to connect the sending unit to the gauge. This can usually be done by attaching the wire from the sending unit to the back of the gauge. Make sure to check the manufacturer’s instructions for specific details on how to properly connect the sending unit to the gauge.

4. Test the Oil Pressure Gauge
Once you have connected the sending unit to the gauge, you will need to test the oil pressure gauge to ensure that it is functioning properly. Start the engine and monitor the gauge to see if the oil pressure readings are within the normal range. If the gauge is not displaying the correct oil pressure readings, you may need to troubleshoot the connections and make any necessary adjustments.

In conclusion, hooking up an oil pressure gauge on a Chevy 350 engine is a straightforward process that can be completed with a few simple steps. By following the steps outlined in this guide, you can successfully install an oil pressure gauge on your Chevy 350 engine and ensure that it is functioning properly. This will allow you to monitor the oil pressure in your engine and take any necessary action to prevent damage or malfunctions.

how to hook up mechanical oil pressure gauge

how to hook up mechanical oil pressure gauge

Hooking up a mechanical oil pressure gauge can be a crucial task for importers and distributors of engineering vehicle parts. In this article, we will discuss the steps on how to properly install a mechanical oil pressure gauge to ensure accurate readings and optimal performance.

Preparing for Installation:
Before beginning the installation process, gather all the necessary tools and equipment such as a wrench, tubing cutter, thread sealant, and the mechanical oil pressure gauge kit. Make sure to choose a suitable mounting location for the gauge that is easily visible and accessible while driving.

Removing the Existing Oil Pressure Sensor:
The first step is to locate the existing oil pressure sensor on the engine. Use a wrench to carefully remove the sensor from the engine block. Be cautious when removing the sensor as some oil may leak out. Once the sensor is removed, clean the threads on the engine block and apply thread sealant to prevent any leaks.

Installing the Mechanical Oil Pressure Gauge:
Next, install the brass fitting from the mechanical oil pressure gauge kit into the engine block using a wrench. Ensure that the fitting is securely tightened to prevent any leaks. Attach the tubing provided in the kit to the fitting and run it to the location of the mechanical oil pressure gauge.

Securing the Gauge:
Mount the mechanical oil pressure gauge in the chosen location using the mounting hardware provided in the kit. Make sure the gauge is securely mounted and the tubing is properly connected to the back of the gauge. Once the gauge is mounted, start the engine and check for any leaks or abnormalities in the oil pressure reading.

In conclusion, installing a mechanical oil pressure gauge is a straightforward process that requires careful attention to detail. By following these steps, importers and distributors of engineering vehicle parts can ensure accurate oil pressure readings and maintain the optimal performance of their vehicles. Proper installation of the mechanical oil pressure gauge is essential for monitoring the health of the engine and preventing potential damage.